Company Setup
This chapter describes how to start the Business process, explore the administration interface.
The Administration module allows you to control the operation of Business Process, and manage all users and groups. This chapter describes how to start the Business process, explore the administration interface. It covers the base data that is linked into the other modules for transactional purpose.
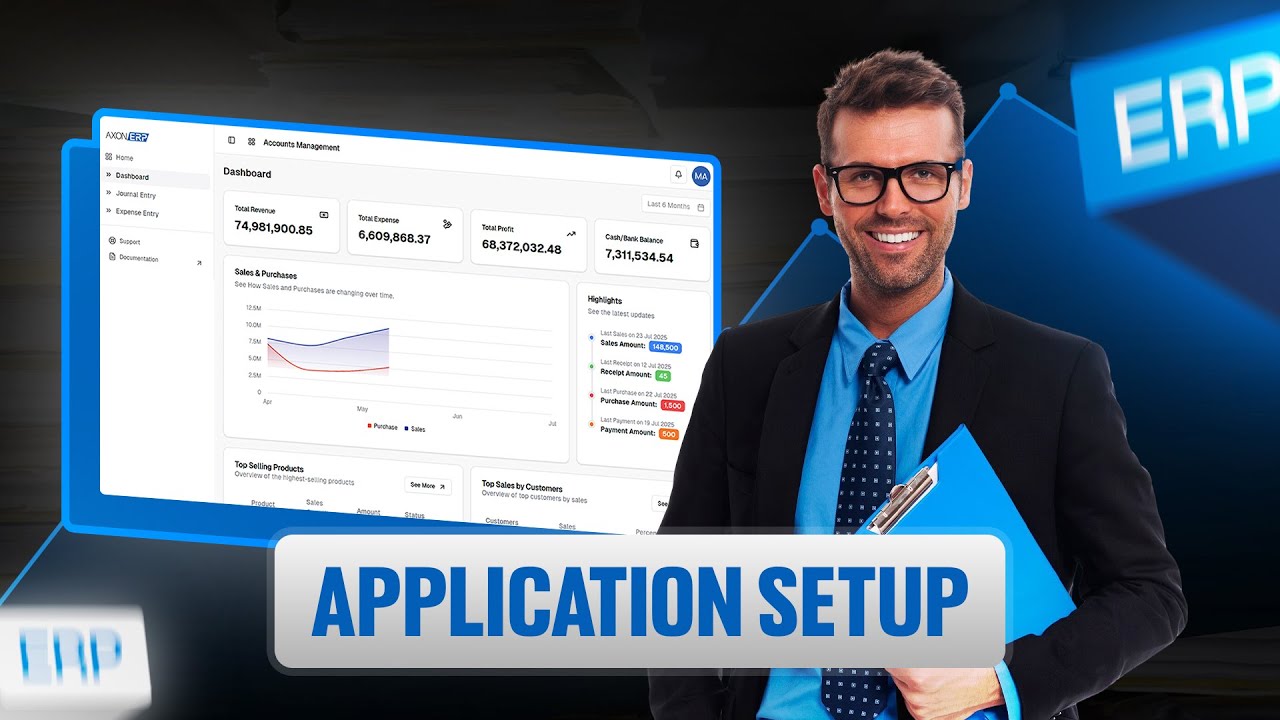
Watch: Application Setup in Axon ERP | Complete Beginner Guide
Let's Setup the Company
Here we can see the company setup. Firstly we’ll define the company profile in which the first item is company profile. Company profile is used for the company information. The purpose of this tab is how to establish or create company information to use this tab.
When you click on the company profile option you can see there are two option:
- Edit profile
- Accounts preferences
When you open the Edit profile, now you can add your company information like
- Company Name
- Address
- GST Number
- NTN Number
- Company code
- Business type
- Phone number
- Logo
Now you can simply add this information and click on saves changes.
Accounting Refrences
When you add your all company details than you select your Accounting Refrences:
Accounting Refrences typically refers to the settings and options that control how financial transactions are recorded, processed, and reported.
- In Axon ERP System the Accounting Refrences should be configured during initial setup by default. But you can set up accounts preferences according to your business needs.
- If you can change accounts preferences you can simply click on edit option and select your account and saves this changes.
The following accounts can be configured in Accounting Refrences:
- Payable Account – Tracks money your business owes to suppliers.
- Receivable Account – Tracks money owed to your business by customers.
- COGS/Expense Account – Records the cost of goods sold or business expenses.
- Income Account – Records revenue earned from sales or services.
- Inventory Asset Account – Tracks the value of inventory held by the business.
- Stock Adjustment Account – Records adjustments made to inventory levels.
- Suspense Account – Temporarily holds transactions until they are properly classified.
- WIP Account – Tracks costs related to Work In Process (partially completed goods).
- Gain Loss Account – Records gains or losses from financial transactions.
- Employee Payable – Tracks amounts owed to employees.
Inventory Preferences
Inventory Preferences control how inventory is tracked, valued, and managed across your business operations.
Inventory Preferences allow you to enable or disable the following options according to your business needs:
- Enable Multi UOM – Allows the use of multiple units of measurement for inventory items.
- Enable Multi Item Pricing – Enables different pricing tiers for the same inventory item.
- Enable FOC Product – Allows Free of Cost (FOC) products to be added in transactions.
- Show MRP Fields – Displays MRP (Maximum Retail Price) fields on inventory forms.
- Tax-Calculation – Define when tax should be applied. Options are:
- Before Discount – Tax is calculated on the original price before any discount is applied.
- After Discount – Tax is calculated after the discount has been applied.
- MRP – Tax is calculated based on the Maximum Retail Price.
To update Inventory Preferences, click Edit, adjust the required settings, and click Save Changes.
Transaction Preferences
Transaction Preferences define the default behavior of transactions across the ERP system.
Transaction Preferences allow you to enable or disable the following options:
- Enable Transaction Line Description – Allows adding a description to each line item in a transaction.
- Enable Transaction Line Tax – Enables tax to be applied at the individual transaction line level.
To update Transaction Preferences, click Edit, adjust the required settings, and click Save Changes.
OB App Preferences
OB App Preferences allow you to configure the Order Booking application settings within Axon ERP.
OB App Preferences allow you to enable or disable the following options:
- Enable Sale Order – Allows sale orders to be created through the OB application.
- Enable Sale Invoice – Allows sale invoices to be generated through the OB application.
Transaction Status:
- Enable Draft – Allows transactions to be saved in draft status.
- Enable Approved – Allows transactions to be marked as approved.
Payment Status:
- Enable Draft – Allows payments to be saved in draft status.
- Enable Approved – Allows payments to be marked as approved.
To update OB App Preferences, click Edit, adjust the required settings, and click Save Changes.
Integration Setup

Watch: Company Setup for FBR
Integration Setup allows you to connect Axon ERP with third-party government and digital invoicing services.
Integration Setup allows you to enable or disable the following integrations:
- Enable FBR POS Integration – Connects Axon ERP with the Federal Board of Revenue (FBR) Point of Sale system for tax compliance.
- Enable IRIS Live Digital Invoicing – Enables live digital invoicing through the IRIS system.
- Enable Sandbox Testing – Activates a testing environment to verify integrations before going live.
To update Integration Setup, click Edit, adjust the required settings, and click Save Changes.
Meta Integration Setup
Meta Integration Setup allows you to connect Axon ERP with Meta platforms such as WhatsApp Business.
Meta Integration Setup enables your business to integrate Axon ERP with Meta services for automated communication and notifications.
- Enable Meta Integration – Activates the Meta integration to allow Axon ERP to connect with Meta platforms such as WhatsApp Business API.
To update Meta Integration Setup, click Edit, enable or disable the required option, and click Save Changes.
Characteristics & Features of company Setup:
A comprehensive search bar is available on user form and employee form, now you can search employees and user in just one click and access all of the information in just one search.
In this column icon you can simply click on this and select those options which you want to see on employee form like if you click on ( entity id ) now can able to see the entity id on employee’s form interface .if you want to remove this simply uncheck entity id.
